

Views: 40
Video Pins are in
In case you have not noticed but you can now find more and more video pins on Pinterest. I wanted to go through the process of creating one Pin for my blog as well and see how easy or hard it would be. What I found is that you can easily create a video pin with open source software on any platform. The tools I describe here are available for Mac-OSX, Windows, and even on Linux.
The only things which will cost you money are going to be your phone, to create a Portrait video pin, and your computer, to put it all together. I quite like the effect a video pin has on catching your eye and will likely create more of them over the next couple of weeks and months.
But before we go ahead here, I want to invite you to join the AskMeAnything event this Sunday on YouTube. You can also find some more information on this page. This Sunday December 8th 2019 is going to me my first attempt at using YouTube as a streaming platform.
The video
Lets start with production of the video pin. The guidelines from Pinterest can be found here. The video container can either be .mp4, .mov or .m4v. Pinterest does not talk about the audio format or sample rates. The video format can either be the trusted h264 or the newer h265. The reasons these formats have become so commonplace is simple. The quality of the video per storage unit or per streaming bits is way better than for example the mpeg2 format. I could geek out about video formats jpeg, mpeg, and h264 compressors but this is not the post to do so.
Finally the length of the video pin has to be between 4 seconds and 15 minutes and the maximal size can be 2GB.
The only real restrictions seem to be wrt the aspect ratio. Those can be either widescreen (16:9), square (1:1), and vertical (9:16, 4:5, 2:3). Importantly the 1:1, or the 9:16 for Portrait mode. In most cases you can assume your smartphone is smart enough to give you the right ratio.
The overlay
To create a nice video pin you have to create an overlay with text on it. You could of course also animate the overlay but hey really, how much confusion do you want to cause? So a single png file with a transparent background with the same ratio and prefferably the same resolution as well is required.
I have seen many Pinterest articles of using Canva however I do not know if you can create an image with a transparent background. Also I would NOT recommend that you go out and buy yourself an expensive photo editing software, like Photoshop. And there is certainly one of my online favorites to also play around with called Pixlr.
Enter the Gimp
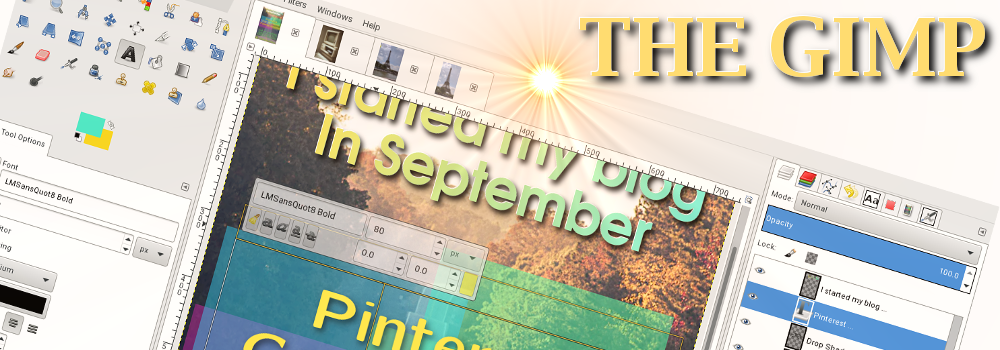 My recommendation is to install a fresh copy of The Gimp from one of the official mirrors. GNU/Linux | OS X | Microsoft Windows.
My second recommendation is to go to the “Window” and enable “Single window mode“. This setting will add all of the dockable windows into a single frame and also open multiple images in different tabs rather then in a new window.
There are plenty of online tutorials for The Gimp and I won’t go into details here but the easiest way to get started with it is to remember to use a new layer for each item you add to your image. For example you want to create an overlay text. The first thing you should do is to create a new transparent layer then click on the “Text-Tool” choose your font size and color and off you go.
Say you want to add your Logo on top of the image. First create a new transparent layer, copy your logo “Edit -> Paste as New Layer” then you can resize and move the logo into shape and place.
Over time you will get to learn more advanced features of the software, like adding a frame around text, curving text along a path, drawing shapes and more. I found the basic things you want to do actually very simple to do after you spend about 10-15 minutes getting to know the program.
What do we want
We need to create an image which has the same resolution of your video. You can then create the base-layer and fill it with say white or if you have a screenshot of your video pin you can add as the base-layer that would be better. Then you create a new transparent Layer, add your text, create the next transparent layer and so on. Note, that in certain circumstances you will have to add transparency to your image. To do this you have to go to “Layer -> Transperency -> Add Alpha Channel”
When you are happy with the look and feel you have to hide the base-layer ( click the eye-icon to the left of the layer ) and then most importantly you have to save this image in PNG format to retain the transparent layer. The JPG format does not support transparency.
The video editor
 I have used a few editors in the past and as a matter of fact, I have contributed to Kdenlive as well as written a DVD Authoring tool in the past. I am currently using two tools and both of them are free to download and install. Both of those tools are available on all three platforms.
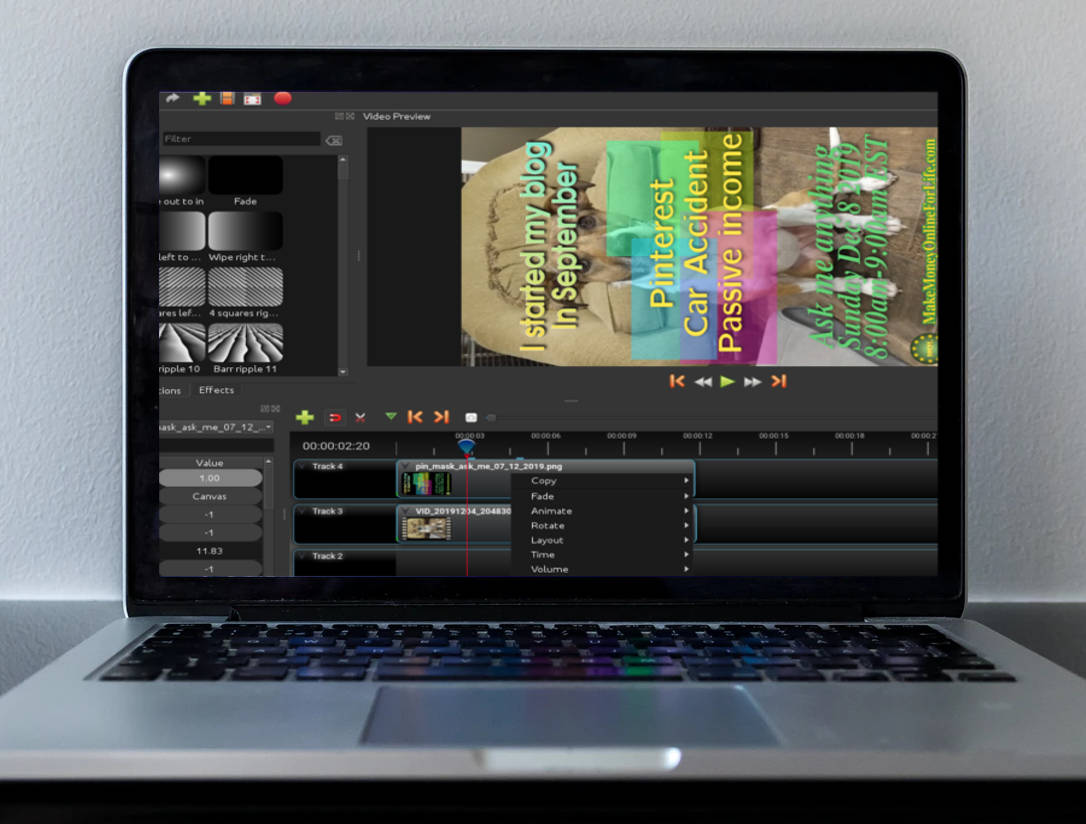
Openshot
Openshot is the tool which I use most often these days. There is a simple explanation for it. It is dead simple. You do not need to view any tutorial to get started with this program. It works out of the box and you can get started right away. The only real drawback of Openshot is that it slows down your computer if you add too many transitions and source clips.
Davinci Resolve
This tool is for the more professional usage and has a few advantages, especially for longer projects. Here too, you can download a version for your favorite OS. When you open it up for the first time it does not look that much different to Openshot. When you start adding transitions or other advanced features you will soon start to see the difference.
Adding it up
Lets put things together. You have your raw video, you have your overlay and you have Openshot. Great, lets start.
First import both the video and the overlay.
Second save your project. Once you have saved it, you should periodically press Ctrl+S to make certain you don’t lose any work in case Openshot crashes. It can happen from time to time but in most cases Openshot can be used for a complete project without any issue.
You may find that your Portrait video shows up on the side. The reason is that your phone always records the video in normal Landscape mode but then sets a flag inside the video file to tell the video player to rotate it by 90degrees. In Openshot you will however see the video in Landscape format.
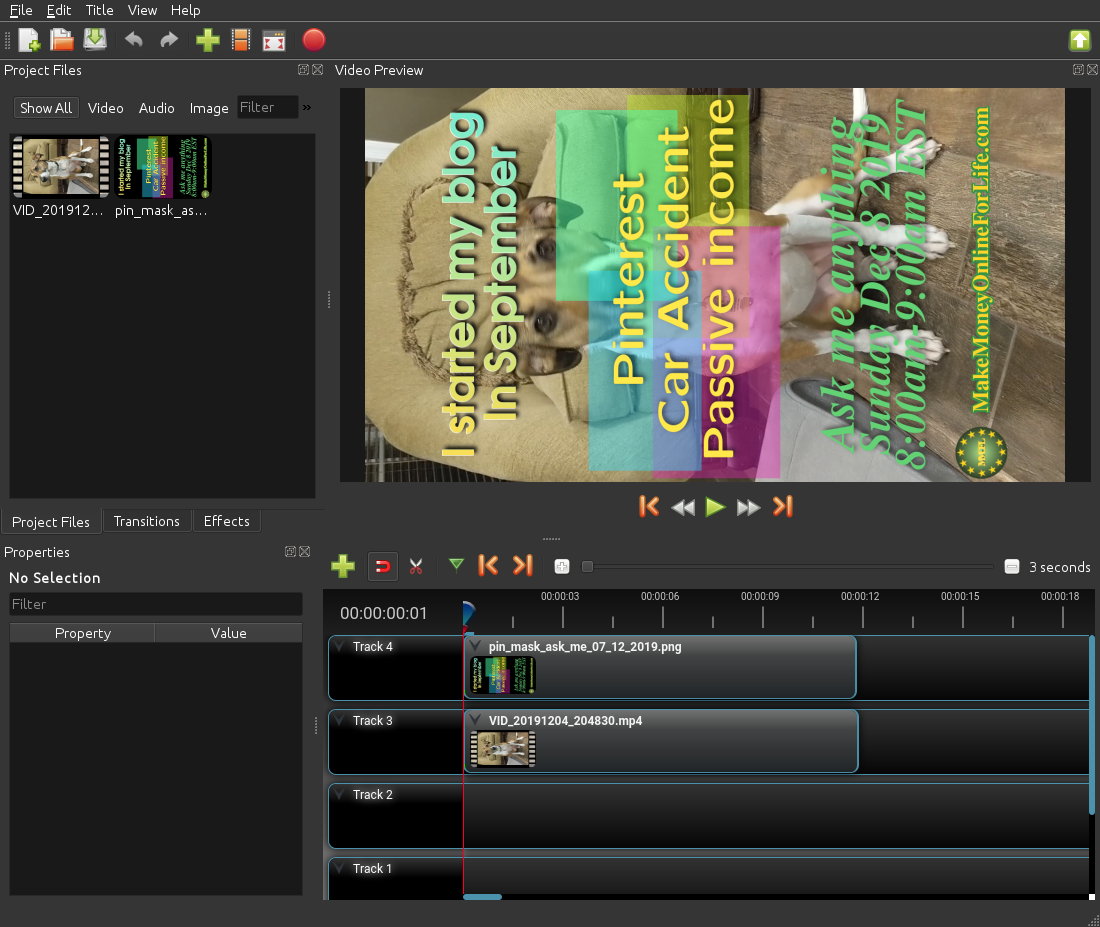
The solution is simple. Rotate your image so that it matches your video. Store the rotated image and import it into Openshot. Now that both video and image are “on-the-side“all you have to do is
- Drag your video to one of the empty timelines
- Trim the start and end if you need to
- Drag your overlay image on a timeline ABOVE the video timeline
- Stretch the overlay image on the timeline to exactly match the video
- right click on the video and then got to “Volume -> Entire Clip -> Level 0%“
Done. You can now save your video. To do this go to “File -> Export” on the export dialog, click on the Advanced tab and make certain that your audio is in aac format ( even though we have only silence ) and your video is using a h264 codec.
The last step is to quality check the video and see if all looks well. If that is the case you can go to the last step in the creation process
Rotating the video pin
I am using ffmpeg to rotate the video because it is the Swiss-army pocket knife of video conversion. You can download the tool for your OS for free. Once installed it is a simple command line to do the rotation:
ffmpeg -i input.mp4 -vf "transpose=1" output.mp4
There are many reasons why I chose to use the command line. The most important one being that I can achieve things faster. As you can see, rotating a video is a single line with the syntax coming from a google search. Also I have been working with ffmpeg for many years and this is a simple transformation. I know however that most people may not want to touch the command line with a long-pole. That is why you can achieve the same using the all powerful VLC.
Rotating your video using VLC
I also found another way to use the great VLC ( Video Lan Client ) to rotate the video.
- Open the Source File
- Go to Media -> Convert/Save
- Add the source file, then click on Convert/Save
- Click on the Preferences button to the right of to “Video – H264 + MP3(MP4)“
- Select tab Video codec and check Video transformation filter
- Specify the Destination file and click on Start
- After conversion, you can view the result using Media -> Open File


